Prepping Fabric
Prepping for sewing is going to be your biggest advantage to ensure your plushy turns out right.

Once you’ve got your pattern, lay out your fabric on a very flat, smooth surface. Your floor may work if it’s not carpet, or a large table. Check the direction that the fur or nap is going and place your pattern pieces accordingly.
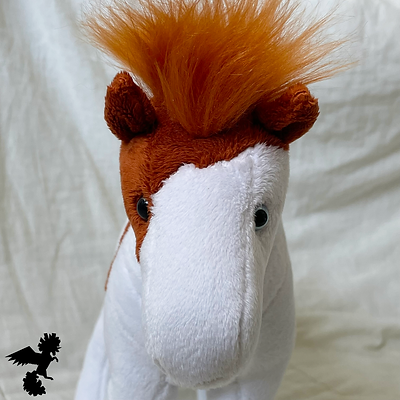
I always make sure that for the main body of the horse the minky nap is going downward, and for ears it is going up. Think about the direction of the hair that you want for your project and check the direction again before you cut. Do not try to rush this step, if the direction is not correct it may ruin the project.
Mark the fabric by tracing the pattern piece’s edge onto the fabric. If the fabric is a light color, you can use air-erasable markers for this. Make sure to test the markers on a swatch first that it will disappear. You can also use marking chalk if it is a dark color.


Cutting the fabric can take some time depending on how complex your pattern is. Make sure when you begin cutting that you leave at least a ¼ inch of seam allowance, otherwise you won’t be able to sew a strong seam, or your project may end up smaller than you planned. When cutting faux fabric use short cuts instead of longer ones, this will ensure you only cut the backing and not the pile.


If you have 4inch long faux fur (specifically the monster line) have an allowance of ¾ inch to get a fluffier look. Because of the length, this fur’s pile is attached to the backing in a sparse pattern. This method of cutting extra seam allowance likely won’t work for shorter piles.
Get a pair of sharp fabric scissors to make this process easier, while Gingher scissors are an investment, they are worthwhile. Be sure to only ever cut fabric with them to extend their sharpness lifespan.
Next Page

